
Buggy Controller Live Demo
Use this page when you want a concrete real-device Android automation example, especially if the question is how Luotsi behaves on older hardware with weak hierarchy output.
Start from these pages first
Section titled “Start from these pages first”This tutorial condenses the repo’s end-to-end Buggy Controller walkthrough into the parts that matter when you want to see Luotsi on a real device, understand the artifact trail, and verify that the workflow still holds when uiautomator dump is unreliable.
What it demonstrates
Section titled “What it demonstrates”- Device discovery and readiness checks
- App lifecycle verification
- Host-side recording and screenshot capture
- Scenario execution with JSONL events, JSON reports, and JUnit output
- Failure-friendly behavior on an older Android 6 device with weak hierarchy support
Device and app context
Section titled “Device and app context”The captured run targeted:
com.digablesolutions.buggycontroller/.MainActivity0123456789ABCDEFmodel=PDA3505android_release=6.0sdk=23Minimal walkthrough
Section titled “Minimal walkthrough”luotsi devices
luotsi preflight ` --device 0123456789ABCDEF ` --package com.digablesolutions.buggycontroller
luotsi run ` --file .\examples\scenarios\buggy-controller-live-demo.json ` --device 0123456789ABCDEF ` --package com.digablesolutions.buggycontroller ` --events-jsonl .\artifacts\buggy-demo-events.jsonl ` --report-json .\artifacts\buggy-demo-report.json ` --report-junit .\artifacts\buggy-demo-junit.xml ` --artifacts .\artifacts\buggy-demoIf you are running directly from a source checkout instead of an installed CLI, prepend dotnet run --no-build --no-launch-profile --project Luotsi.Cli -- to the same commands.
The checked-in sample run passed with ten steps, five coordinate taps, one screenshot assertion, and four captured screenshots.
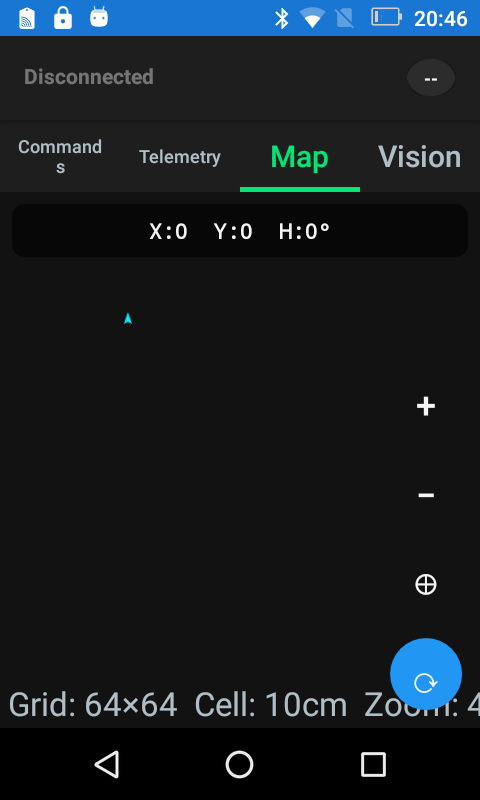
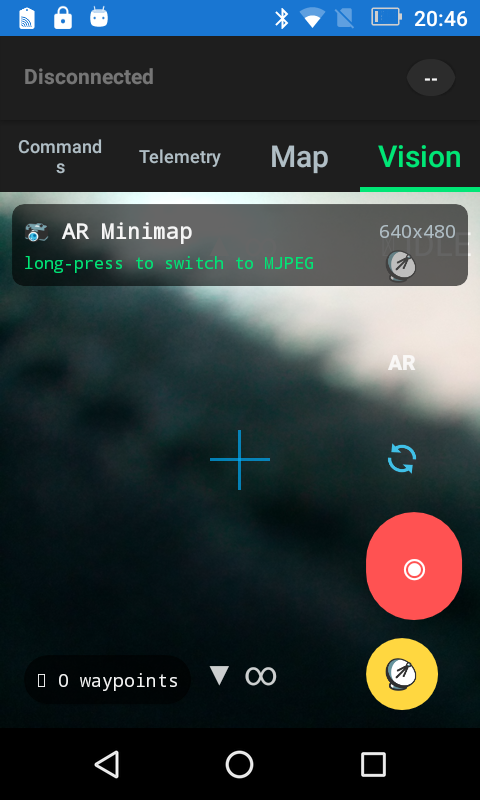
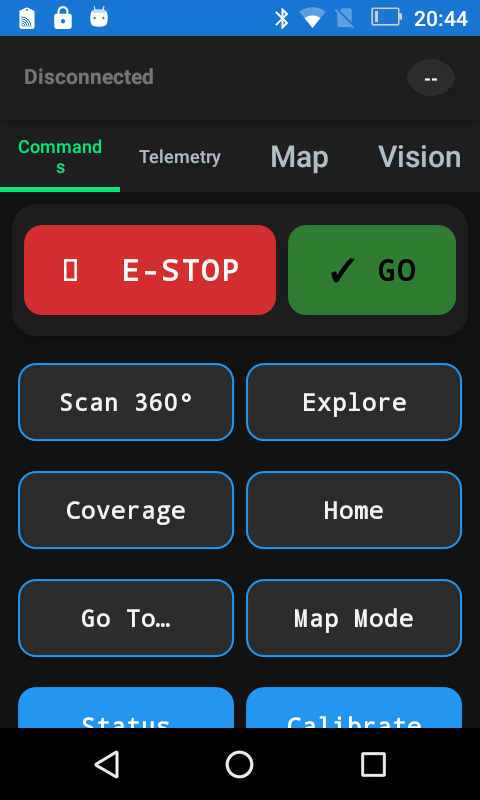
What the run looked like
Section titled “What the run looked like”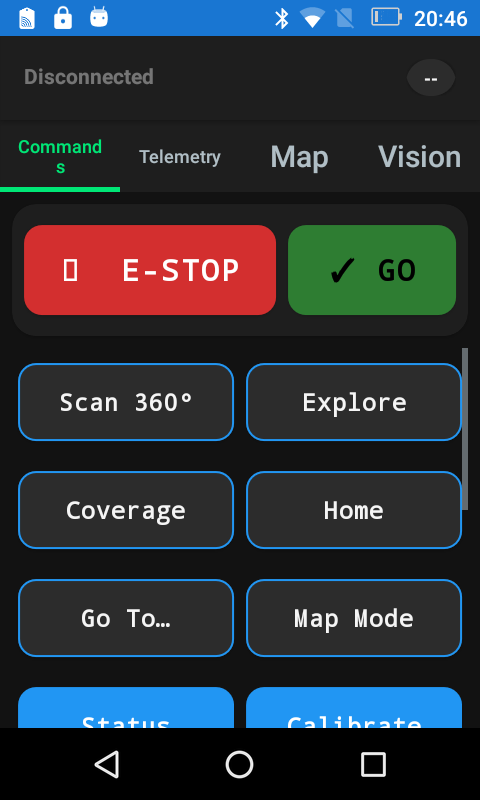
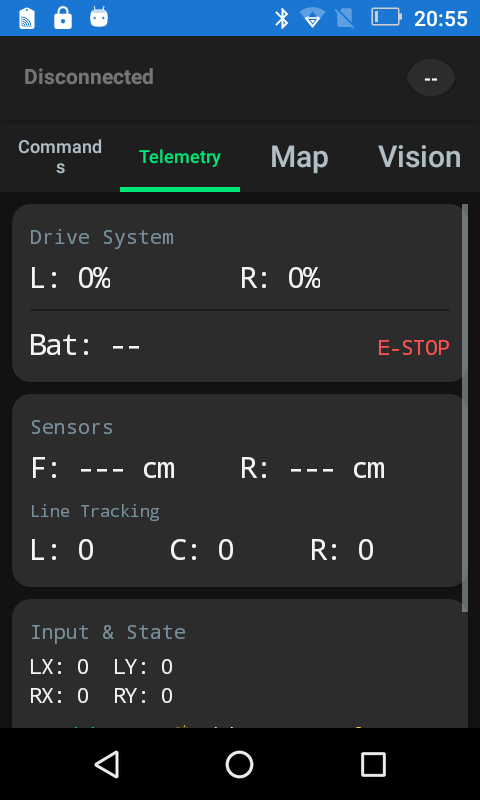
Why screenshot-first scenarios were the right fit
Section titled “Why screenshot-first scenarios were the right fit”This device is old enough that uiautomator dump can fail instead of returning usable XML. In that environment, Luotsi still gives you a workable automation loop: coordinate taps, screenshot assertions, JSON and JUnit reports, replay metadata, and failure bundles that explain what broke.
After the run
Section titled “After the run”Follow the sample run with the artifact-oriented commands that make Luotsi useful after the device session is over:
luotsi scenario-explain --file ./examples/scenarios/buggy-controller-live-demo.jsonluotsi replay open --artifacts ./artifacts/buggy-demo --dry-runluotsi replay summarize --artifacts ./artifacts/buggy-demoluotsi replay capsule --artifacts ./artifacts/buggy-demo --write-readme --write-jsonThe useful files are not just the explicit JSON and JUnit reports. The artifact root also preserves session-timeline.jsonl and session-replay.json, which means the same walkthrough can be reopened later through replay commands without reconnecting to the device.
Why this tutorial matters
Section titled “Why this tutorial matters”The device is old enough to expose weak uiautomator dump behavior. That makes it a good example of Luotsi’s operating model: even when hierarchy extraction is rough, the tool still records the device, runs the scenario, emits structured reports, and keeps artifacts that explain what happened.
It is also the shortest public example that ties together installation-ready CLI commands, a checked-in scenario file, replay-oriented outputs, and a real troubleshooting edge case on physical hardware.